

Bugs, Bots, and Circuits, Oh My! STEM Education Works and Brown Dog Gadgets
July 6, 2026
Pym Particles and an Exercise in Scaling
September 22, 2026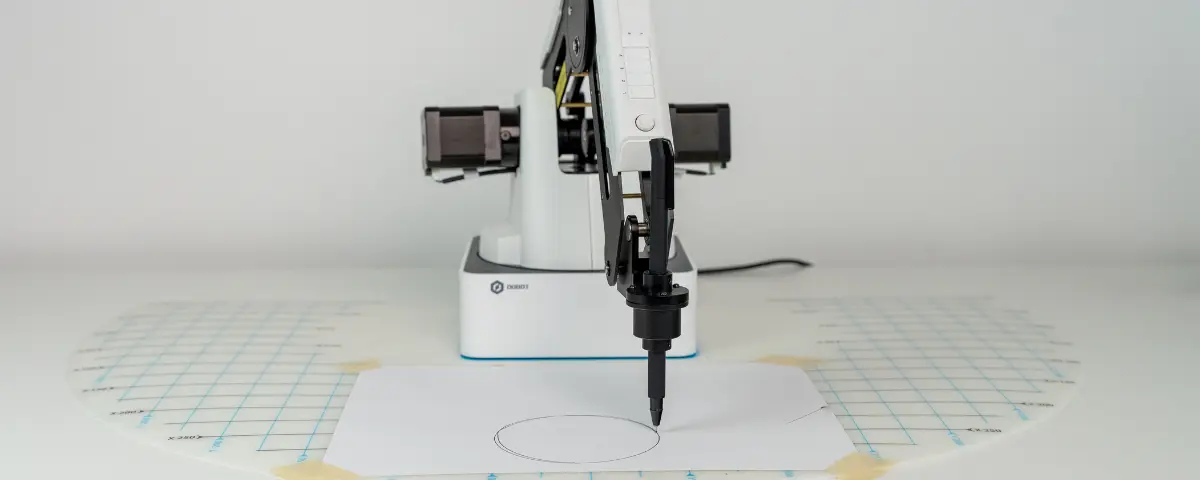
Robotic arms are an industry-standard technology in many manufacturing environments. The Dobot Magician and Dobot Magician Lite are designed to make robotics less intimidating for educators while providing students with hands-on coding and engineering experiences. The Dobot is easy to set up, and the many end effectors included in the box expand what students can do while engaging students of all ages and experience levels.
Set Up Your Dobot for Success
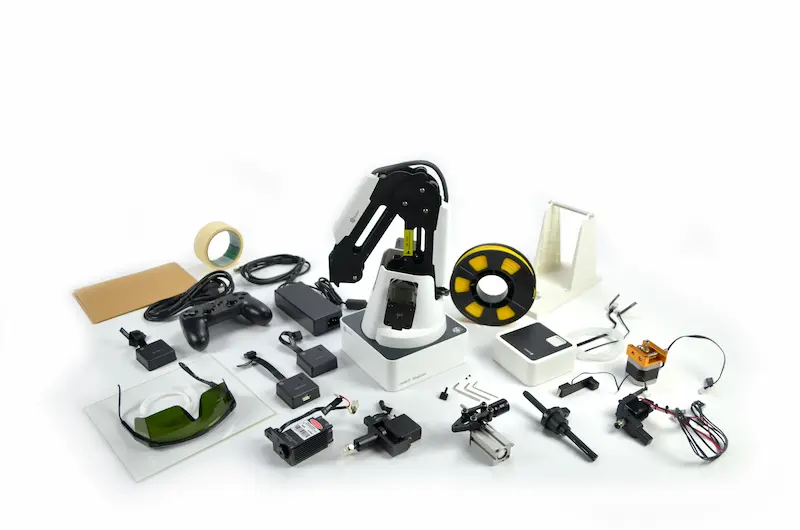
The Dobot Magician and Magician Lite come with the robot itself, cables, and multiple end effectors. Whenever you move the robot, lift it by the base rather than the arm, since the arm contains most of the fragile electronics. You can plug the Dobot directly into an outlet or use the rechargeable power pack. Once the Dobot is powered on and the indicator light turns green, you’re ready to connect it to a computer. The Dobot needs to connect to a computer that runs Windows, so Chromebooks or Macs are not fully compatible.
Explore the Different End Effectors
Dobot’s most impressive capabilities come from its various end effectors. If you have the Magician Lite, it comes with the pen, soft gripper, and suction cup end effectors. The Dobot Magician has those end effectors, along with a 3D printer and laser engraver attachments. Each end effector attaches to the front of the arm simply by pushing the attachment into the square socket. From there, you attach the end effector tube to the nozzle under the arm. Each end effector attaches similarly, but some of the Dobot Magician’s AI capabilities require an additional camera attachment.
Create Your First Write and Draw Project
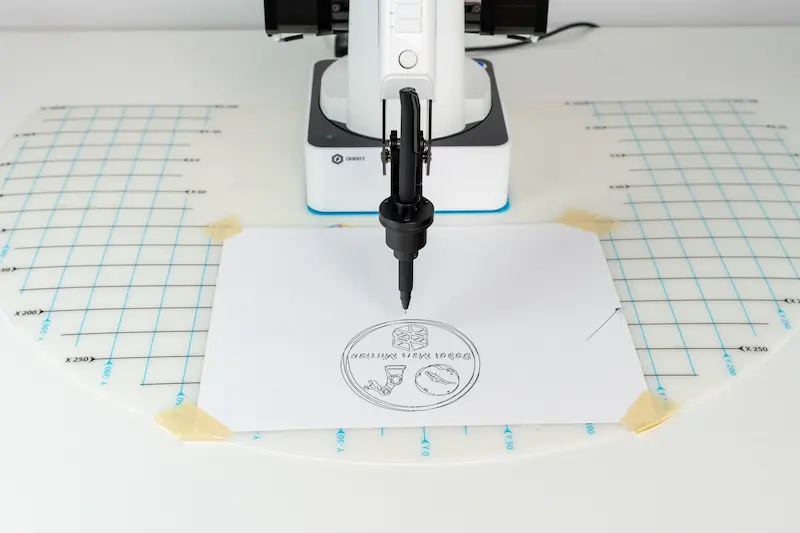
First, attach the pen end effector. While the kit comes with a pen, you can swap it for any pen, pencil, or marker as it runs out of ink. Then, open the Write & Draw feature in Dobot Studio. There are two ways to have your Dobot draw using the program. You can create a shape or image on the Write & Draw workspace. Essentially, your students will import shapes, move them around, resize them, and combine them to create their drawing. You can do the same thing with text, customizing the font, size, and location. The easiest way to start drawing with Dobot is to import image files into the program. Dobot works best with transparent images, so make sure to remove the background of any image you upload into the program. You can upload any image file, but the program will convert it to an SVG file. From there, the image will appear on the workspace, and you can move and resize it to fit your needs.
Once your design is finished, you’ll need to set up the robot so it can get started drawing. First, home the robot to the center position of the coordinate board. Then, place the tip of the pen on the paper and click the Auto Z button. This tells the robot how far up or down to start the drawing. From there, you can start the program. Just like a 3D printer, every drawing will take several minutes to complete, depending on the complexity.
Build Confidence Before Expanding Student Projects
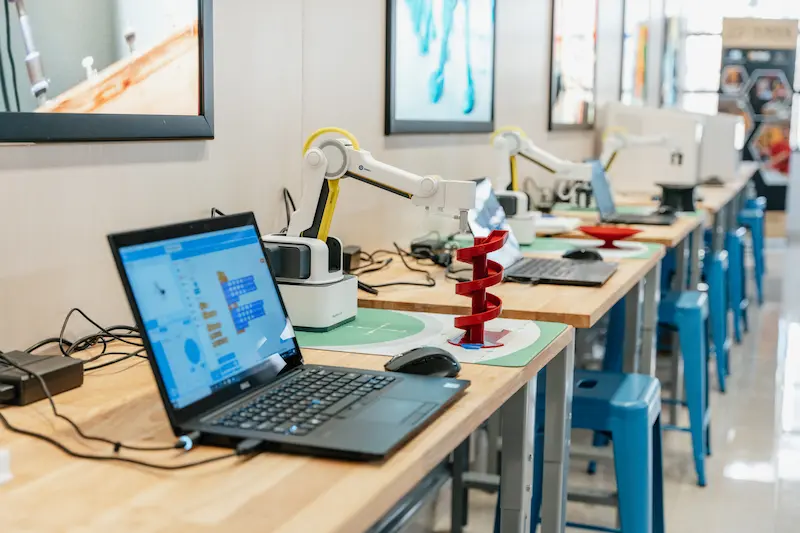
The Dobot Magician and Magician Lite allow students to gain experience with robotics used in the real world. Even young learners can experiment with simple drawing activities to learn robotics and express their creativity. As you and your students get more comfortable with this technology, you can experiment with different writing tools and more complex designs. The Dobot Magician includes advanced capabilities, including laser engraving, AI learning, and conveyor belt automation. For older students, this is a great way to expose them to technology commonly used in manufacturing settings.
STEM Education Works is dedicated to providing cost-effective and user-friendly access to top-notch STEM curricula and technologies, driven by our mission to transform students’ lives. Learn more about what we do through our socials, Facebook, Twitter, Youtube, LinkedIn, Instagram, and TikTok.